Creativeworks London Project – Iteration 1

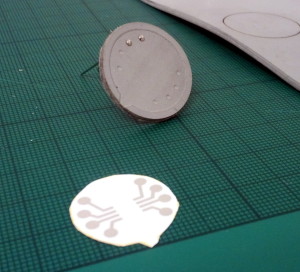
Selection of chip holders

I’ve started referring to electronics connected to soft sensors and hidden on a PCB in a pocket of a garment as the “pocket of shame”. By no mean do I mean any shame on the designers and engineers who were forced to place their circuitry in a pocket, but that it’s a shame we haven’t found a better solution. Beautiful, tactile, and flexible, textile electronic sensors can be woven, knit, or stitched into clothing, but the circuitry needed to process the data generated by those sensors or to send that data off to be processed on another device, is still often mounted on rigid PCBs.

This past October I started a short research project funded by the Creativeworks London Entrepreneur-in-Residence Scheme at the School of Electronic Engineering and Computer Science at Queen Mary University of London. I’m exploring how PCBs can be better integrated into garments with soft sensors, not by trying to transform the PCBs into something flexible, but by hiding them in the already “hard” parts of a garment – buttons.

I’m working with Andrew McPherson, a Senior Lecturer at QM, and Berit Greinke, a PhD student and lab technician in the Materials Processing Lab. We are using the rapid prototyping facilities available in the School to create buttons that are inspired by the chip holder/adapters shown in the photo above. The idea is to create a housing that can be sewn to a garment (with both conductive and non-conductive threads) that remains in place whilst the PCB it houses can be removed.

The Housing

The first design iteration has been focused on a SOIC package of an ATtiny and using the tools with the smallest barriers of use, whether cost, bureaucracy or my own skillset.
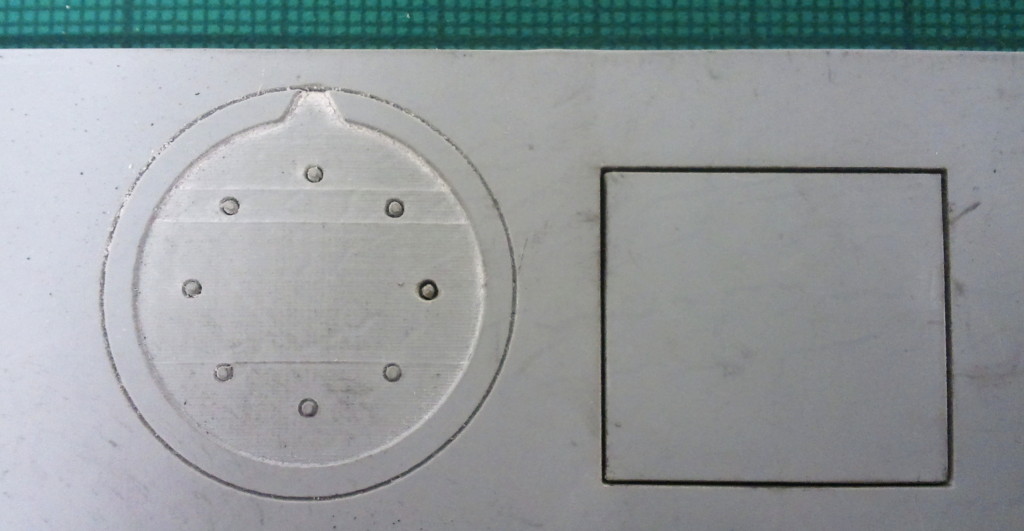
Laser cut rubber

Rubber for laser engraving

The housing has been developed using laser cut and etched rubber to make a recessed area for the PCB to sit in with 8 holes for pins to make contact with the PCB and fabric sensor.

The Circuit

The circuit was printed on paper using a Brother DCP 145C and silver nano particle ink.
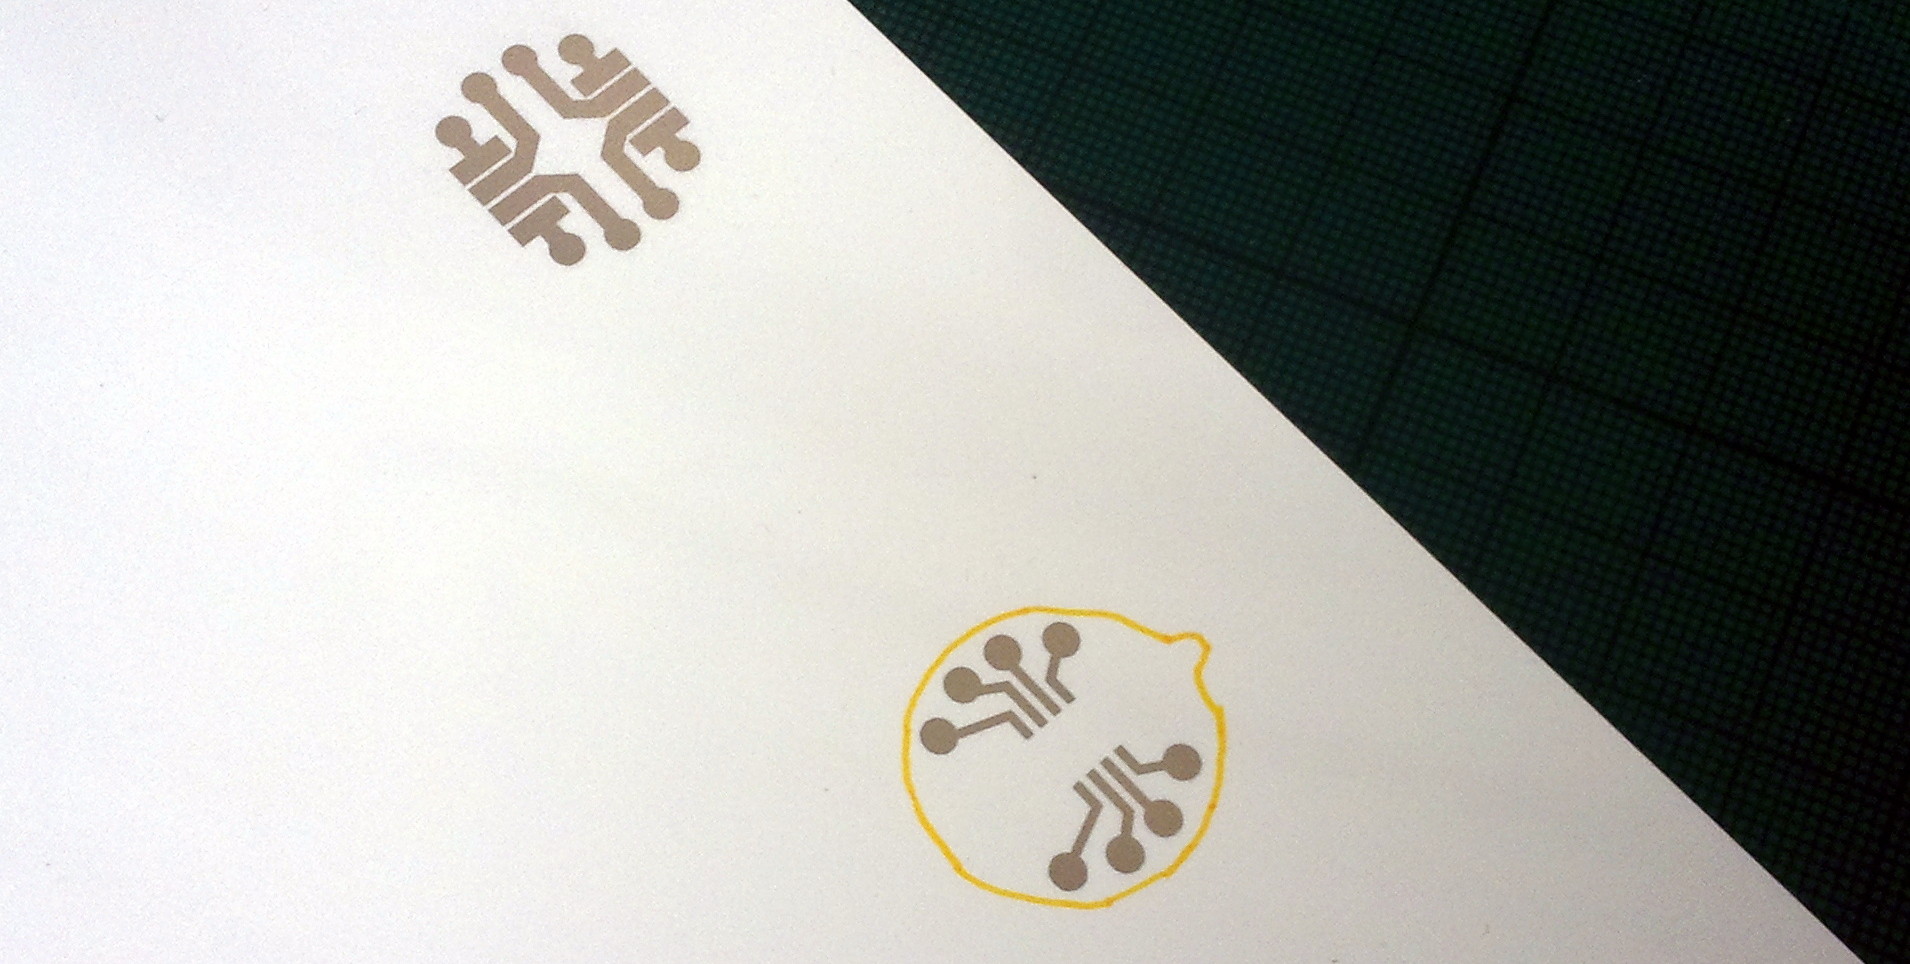
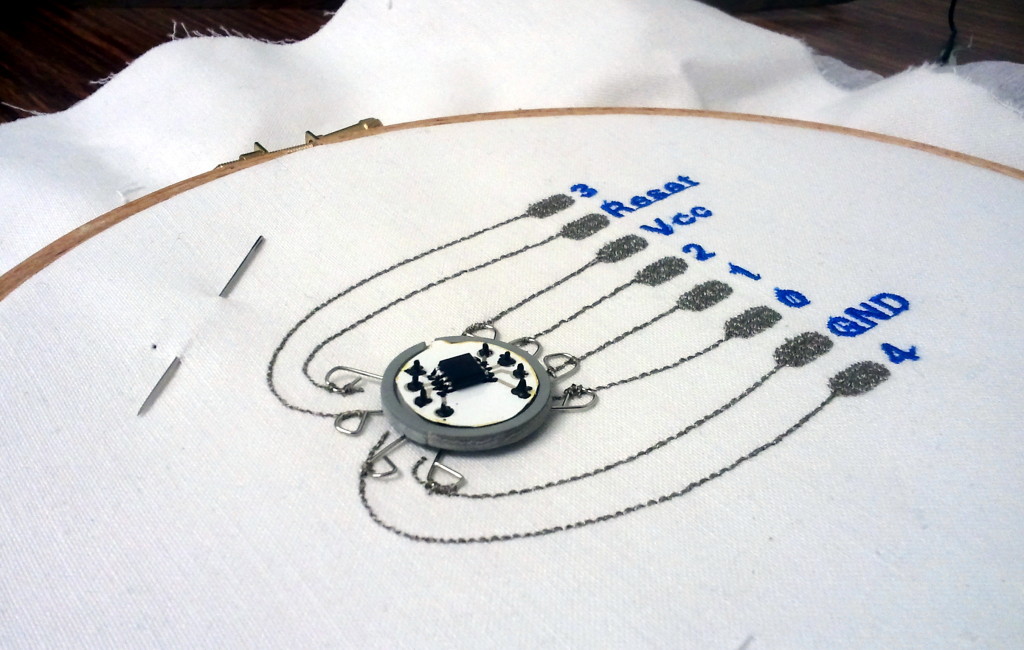
I used clipped sewing straight pins as the contacts as they have broader flat heads that sat against the underside of the paper. They pierced the paper and then were electrically connected to the printed circuit with Bare Conductive Electric Paint.

The Fabric Connection

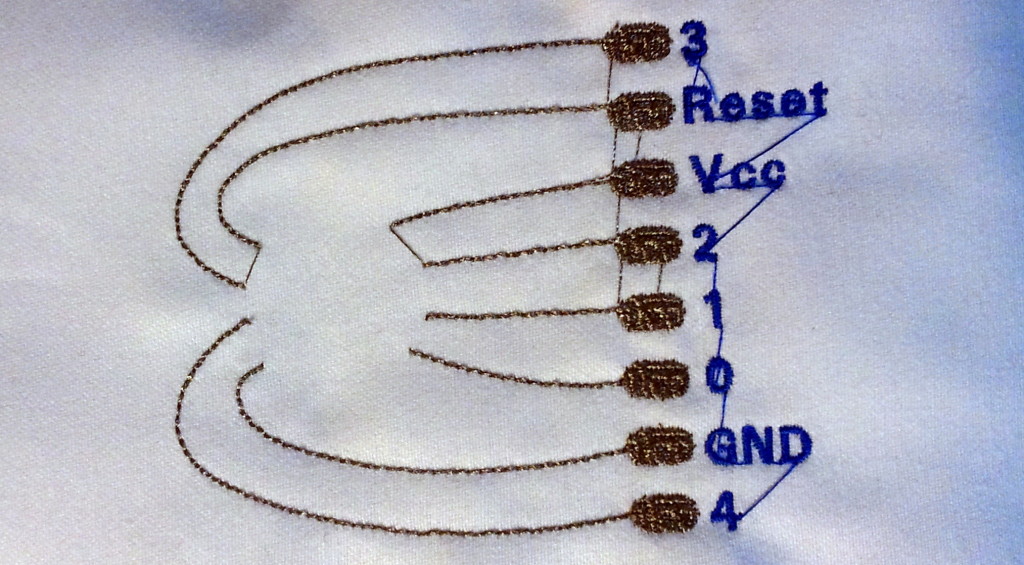
The remaining piece is the fabric circuit that the button interfaces with. With much training and assistance from Berit, I designed and embroidered a breakout circuit for the button to be sewn onto.

A Brother Pr1000e was used to embroider the circuit with Shieldex 110f 34dtex 2 ply yarn by Statex. It’s mostly done automatically, but some care needs to be taken to manually stop the machine’s thread cutter from trying to cut the conductive thread.
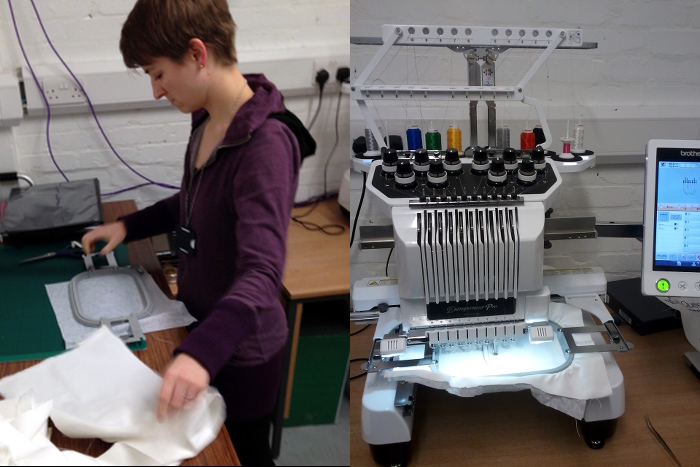
Here is the circuit when it comes off the machine, before trimming all the threads (which is something that can be programmed into the design for the machine to handle, but I hadn’t tackled that yet as this was my first time working with the software).
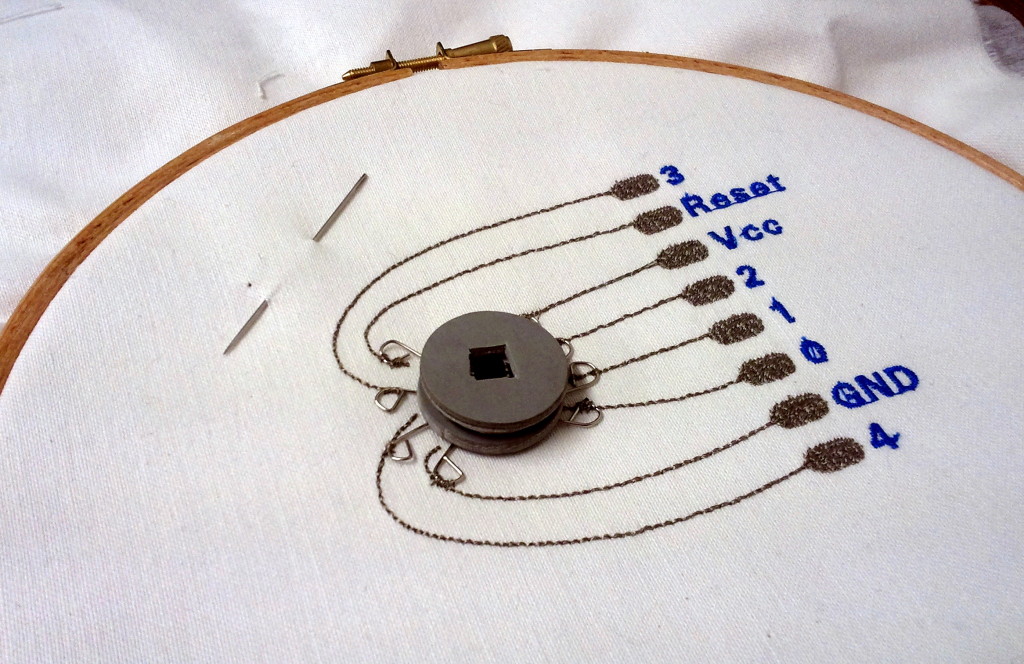
And here it is with the laser cut housing sewn in place. I used sewing straight pins to piece the rubber and then clipped the ends and formed them into loops.

Button on sewn circuit

The ATtiny was cold soldered into place on the circuit board with Bare Conductive Electric Paint and the circuit board placed in the holder.
Button on sewn circuit

A second piece of rubber served as a means to hold the circuit board in place.
Button on sewn circuit

Reflections on Iteration 1

The prototype button is able to make an electrical connection ranging from 30 to 80 Ohms of resistance from the chip leg to the sewn breakout pad. However, it is not a stable connection, but rather fragile both due to the materials and how the “sandwich” of layers meet each other.

The ability to so quickly make physical prototypes was incredibly useful, even though they are certainly not the best materials and tools to be used for the final version. Now that a general form factor has been settled on, the next iteration will utilise the 3D printer instead of laser cutting and a milled PCB instead of a printed paper circuit board.

The use of straight pins as electrical contacts were convenient as they were readily available in the lab, but won’t be used in future iterations. Another solution needs to be sourced, probably by perusing electronics components catalogues.
E-Textile Summer Camp 2015

This is a rather late report of the E-Textile Summer Camp 2015 as it ended many months ago, but it’s a post that has been on my to-do list and I didn’t want to completely abandon it.

This past July/August, around 35 experts in e-textiles/smart materials gathered at Paillard Centre d’Art Contemporain & Résidence d’Artistes in Poncé sur le Loir, France. This was the second time I attended the camp, and even though I knew largely what to expect, still came away amazed at how much I learned.

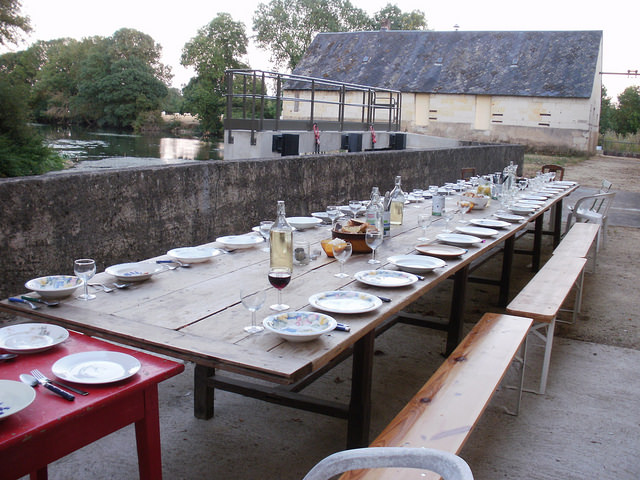
Dinner outside

Dinner outside (weather permitting, which was most of the week).

Continue reading

Installation at Tate Modern

I’ve been working with Melissa Matos of TRUSST and Vase to create a jacket that projects multiple viewpoints from the wearer onto the walls of the Tate Modern’s South Tank as a part of Hyperlink. Jacques Greene will wearing the jacket during his performance from 8:30 on Friday.

The jacket is from Rad Hourani’s collection and Rachel Freire has been working with me to integrate the tech into the jacket. I’ll post more details about the build process after the performance.

More info about the event can be found at the Tate website and on Wired.

Campus Party Berlin and Music Hack Day Reykjavik Hacks

This is long overdue, but this past August I attended Campus Party Berlin and in October I participated in the Reykjavik Music Hack Day in Iceland. It was my first visit to Berlin and I’d also never been to Iceland before – and late October is not really the best time of year for a visit – but I loved it and can’t wait to go back to both places.

Campus Party was a weird experience. It’s an overgrown LAN party that has turned into a conference. My strongest associations with LAN parties are from high school where my male friends would hold 24 hour LAN parties at each other’s houses playing various video games in their parents’ basements. Girls were explicitly not allowed to attend and were never invited to play. Campus Party wasn’t a a complete throwback to those days and the organizers had tried to better accommodate a variety of participants. Though I know the intentions were good, the execution was just awful.

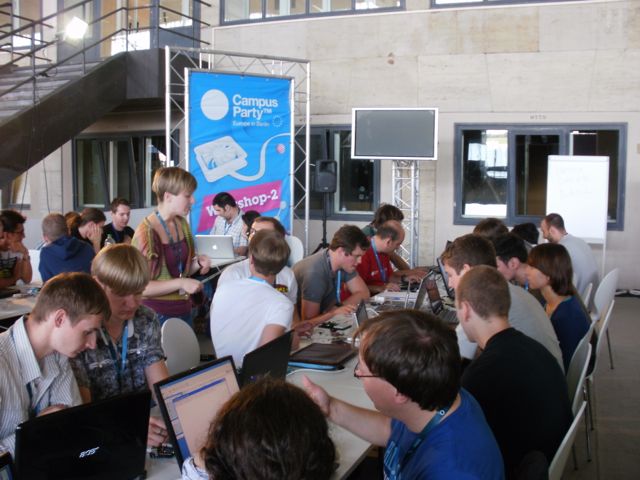
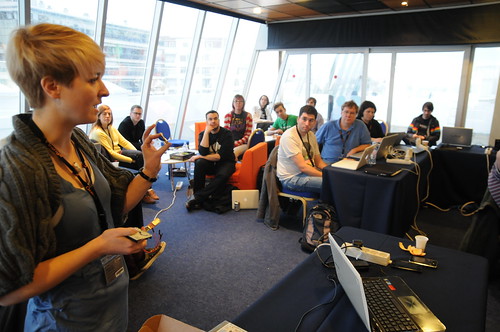
Leading a Codasign Arduino workshop at Campus Party.

Leading a Codasign Arduino workshop at Campus Party.

I attended Campus Party to lead a workshop on Arduino and to give a talk. The workshop was meant to be for 20 and ended up with about 60, but everyone had a good time and I hoped learned a bit. When I proposed to give a talk, I was asked to give it on the “Women in Tech Day”. I was a bit confused as I didn’t propose a talk that had anything to do with gender, but it was clarified that they were trying to fill all the parallel stages with women speakers on the same day. I know they were trying to increase visibility, but it ended up creating a ghetto. As a result, there were almost no women speaking the rest of the week and I had to miss several other women speakers because of my own talk. I even missed the networking event set up by the Berlin Geekettes as it was away from the venue and against my speaking slot (meaning also that most women went to that event and not my talk). I know it was an attempt to increase the visibility of women in tech, but I think it ended up worse than if they hadn’t bothered at all.

Anyway, my slides for my talk:

During Campus Party Soundcloud hosted an Audio Hack Day. It was very small, just 11 hacks, but that was nice change from the huge attendance of most Music Hack Days. After the hack presentations there was a Q&A session for the audience and hackers to discuss the hacks in more detail while the judges deliberated. I made a doorbell that plays a different doorbell sound from Freesound (and thanks MTG for the headphones!). The full hack listing is up on github along with the code.

View from the whale watching boat outside Reykjavik.

View from the whale watching boat outside Reykjavik.

The Iceland Music Hack Day was one of the best organized hack days I’ve ever attended. Much credit to the organizing team! The hack was located in a local university which also hosts a hack space in the basement, Hakkavelin. Having a hack space and its facilities so close to the hack day was great and gave physical hacking a much bigger presence than it would have otherwise had. My team for my hack ended up including two lovely lads from the hack space – Gummi and Jason.

Reykjavik viewed from the walk to Reykjavik University.

Reykjavik viewed from the walk to Reykjavik University.

I brought along something like 30m of digitally addressable RGB LED strips leftover from a previous project. Each LED can be programmed and controlled individually to be any color. I didn’t have grand plans for them when I arrived, but inspiration struck for our team when we combined the LEDs with a coat rack (and we weren’t the only coat-rack-hack).

Testing LED Display from Becky Stewart on Vimeo.

We created a makeshift LED panel by draping and taping the LED strips onto the coat rack and diffusing the light with napkins from the breakfast buffet. We then controlled what the lights displayed via Processing and an Arduino communicating over serial. I wrote a little Processing sketch that queried The Echo Nest for artist images and then let you browse them and select one. It then was sampled to fit on the “digital poster” of LEDs.

There were a couple issues that could have been sorted with a bit more time, but we found a compelling demo image and it was good enough. The displayed images consistently came out too red. I think this could have be calibrated into submission, but the sampling method I implemented was incredibly simple. I think just a touch more sophistication in the algorithm would have gone far. But Dark Side of the Moon saved the day.

Wallify – Music Hack Day Iceland 2012 Hack from Becky Stewart on Vimeo.

Badgify at MIDEM Hack Day 2012

This past weekend I participated in a Music Hack Day-esque event. It’s not quite a regular hack day as it is not an open invitation – you have to apply and have attended a hack day before. It’s because it’s a higher pressure event and you’re expected to output a quality hack with a good demo by the end of it for the music business conference attendees. The hack day is also much smaller – 30 people instead of 100+. The result was that it was easier to meet the other hackers and the demonstrations went just amazingly well. Everyone was well spoken and gave a clean demo.

Rebecca Stewart
Photo by Thomas Bonte

I worked with Suzie Blackman to produce Badgify. It was an Arduino and Android hack inspired by an Internet of Things approach. There are many ways to broadcast what you are listening to: Spotify, Last.fm, Facebook, This Is My Jam, and so on. But all of those services require online connectivity for others to learn what music you are listening to. Our hack lets you share what you are listening to with others in the same physical space as you. Using Bluetooth, your Android phone can communicate with a LCD screen “badge” that you can pin on your coat or bag. It displays the artist you most recently listened to (and scrobbled to Last.fm).

Below is the video of our presentation and a video of the badge and app in action. Our presentation is about 37 minutes in.

The hacks have also picked up a little bit of press.

I’m really glad I attended. Last year’s event was the first MIDEM Hack Day and it was invite-only; there wasn’t an application process. I was vocal in my disappointment in conducting an event this way and was happy that an open application process was adopted for this year. I wholeheartedly encourage you to apply next year.

Soft Circuit Singing Pig with Wigs – Part 4 Construction

Pig in black wig

The patterns for the pig and all the wigs are from Knitting Mochi Mochi by Anna Hrachovec. The knitting of the soft circuit pig was largely unaltered from the original pattern. The main adaptation was that I needed to access the inside of the pig. The original pattern knits the pig from tail to snout and stuffs the pig before casting off and closing up the body. I added an opening and a flap to the underside of the pig by working the body flat instead of in the round for the section between the increases and decreases. I cast on 5 stitches at the end of the row and cast them off again before joining the body in the round and continuing on to the head. This gave me a flap so sew snaps to create a clean closure.

Animation of the pig being knit

Continue reading

Soft Circuit Singing Pig with Wigs – Part 3 Code

Pig in mohawk wig

To summarize the previous posts, I made a singing stuffed animal that happens to be a pig. It sings a different song according to the wig it is wearing which functions as an electrical switch between VCC and ground. This change in voltage is detected by an Arduino Uno. This post will go over the Arduino code that I wrote.

The full source is up in github. Please take it and do as you would like with it. Let me know what you get up to with it.

Continue reading

Soft Circuit Singing Pig with Wigs – Part 2 Circuit

Pig in beehive wig

The interaction design for the singing pig was to have a different song start playing when a different wig is placed on the pig. The pig needed to stand by itself without being connected to anything else and the wigs needed to look like nothing out of the ordinary (ordinary wigs for pigs, that is). I wanted the way the wigs attach to the pig to be no different than any other stuffed toy, but they also need to pass current and electrically trigger events on an Arduino. Metal snaps were my go-to item as they very nicely interface between “hard” components (things you normally associate with a circuit) and “soft” components (conductive thread).

Continue reading

Soft Circuit Singing Pig with Wigs – Part 1 Overview

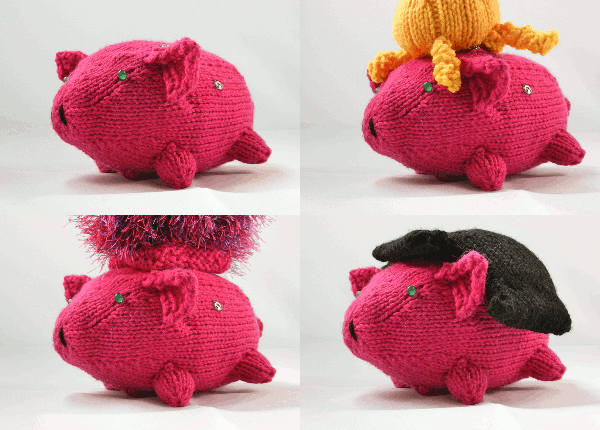
Animated gif with pig in different wigs

I come from a family serious crafters. I’m the only child that didn’t go to art school (though I guess music school isn’t that left field). My sister is currently studying at Savannah College of Art and Design basically learning how to design awesomeness. When she visited me in London this past summer, we came to a rather strange agreement: she would create a mounted deer head art piece for me and in return I would make her a stuffed animal pig with different wigs that sings (she also requested ninja-capabilities, but I had to draw the line somewhere). We agreed this in July and then didn’t really speak of it again, but we both understood that we needed to produce our gifts by Christmas.

This started when she was thumbing through my copy of Knitting Mochi Mochi by Anna Hrachovec and came to the pig with wigs (you can see one of them on the book cover in the upper right corner). We had been playing around with my Sing-a-ma-jigs earlier. I think the Mochi Mochi Land patterns are yearning to be mashed up with some electronics, and when my sister concluded independently of me that the pig should sing (a project I had wanted to do but didn’t have time to devote to at the ITP Camp last summer), I believed I had no other choice than to make it so.

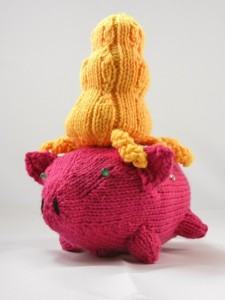
The result is a pig with glowing eyes and the on/off switch as the tail. When the pig is on and there aren’t any wigs on its head, nothing happens beyond the pulsating eyes. When a wig is snapped onto it, the pig sings the song associated with that wig: a black wig sings Bad Romance by Lady Gaga; a beehive sings Tik Tok by Ke$ha; and a mohawk sings Superbass by Nicky Minaj.

And this is what my sister made me (sorry, not a brilliant photo):

Paper mache deer head

As it was a rather large project, I’m breaking up the documentation into multiple blog posts (circuit design, code, and construction).